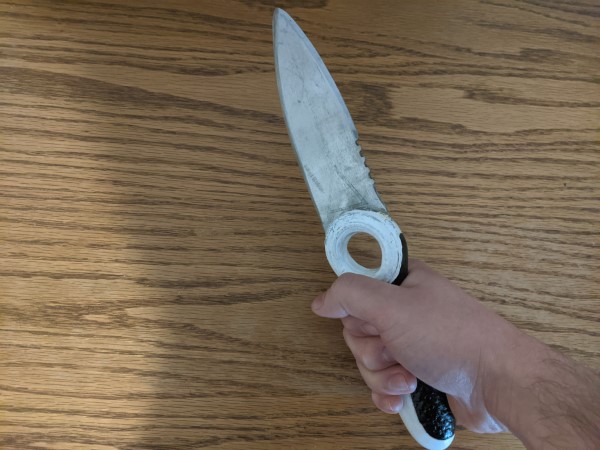
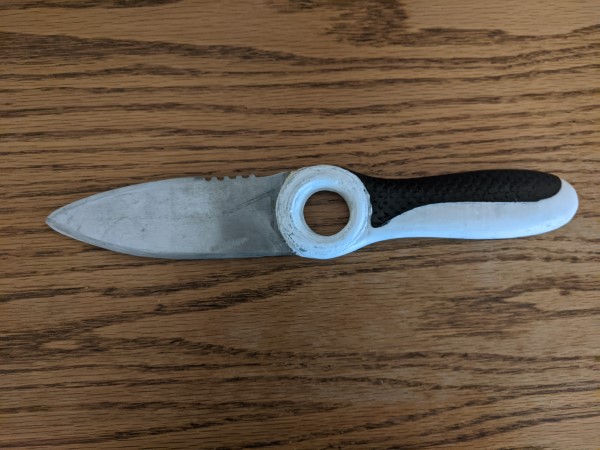
Subnautica Knife
The survival knife from Subnautica with an epoxy resin handle and a high carbon steel blade. I've always wanted the knife from Subnautica, and nothing on the market matched what was used in the game - so I built it. With this project, I learned how to cut metal, make silicone molds, and use epoxy resin. While my painting and polishing skills could be improved, I'm overall really happy with the knife and it feels really good to use.
Time Required: A few hours (plus a couple days set time)
Difficulty: Intermediate
Cost: $80 - $100
Materials
- 1095 steel (1/8" thickness)
- Resin epoxy
- White epoxy dye
- Black acrylic paint
- Mold making silicone
- 3D printed Subnautica knife (to make the silicone mold)
Tools
- Angle grinder
- Metal hole cutter and drill
- Belt sander (optional)
- WD-40 (optional)
- Dremel (optional)
Build your own knife
1. Cut out the knife blade
Using the template attached to the bottom of this page, trace the steel portion onto a piece of 1095 steel (1/8"), then use the angle grinder to cut it out - don't try to cut the handle hole with the grinder. Use a cutoff wheel for cutting out the blade and a grinding disk for smoothing it out.
Once the blank is cut out, you can use a metal hole cutter to cut out the handle hole. Go slowly with this to avoid damaging your drill, and depending on the hardness of the steel, you may need to add WD-40 (or other cutting oil).
2. Put an edge on the blade
I found it was best to put a rough edge onto the blade before creating the handle. Remember the blade is double sided. It may help to use the handle templates to see where the blade should be, and don't sharpen the grooves. For the sharpening, you can use either a belt sander or the angle grinder. The desired angle is between 20 and 30 degrees.
3. Cast the handle mold
I ordered a 3D print of the knife to create a cast of the handle. I put some clay in the handle hole to prevent the mold from casting that - you may not need to do this, but I thought it would be easier to remove the knife. I then created a small cardboard box, slightly bigger than the knife - it helps if there is a smooth coating on it. I put the knife in it, handle first (the blade does not need to be cast) and taped it a few centimeters above the bottom (so it wouldn't touch). I then combined the silicone and poured it in and let it set.
To remove the knife, I scored a wavy pattern along the silicone mold and cut it in half, releasing the 3D print. Then cut a small hole in the side of the mold so you can pour resin in. With the blade flat on the table, I made the hole on the left side of the mold (meaning the knife would be set with the mold on its side).
This mold can be re-used for future knives.
4. Create the handle
With both the blade and mold finished, it is time for the handle. Place the knife between both halves and tape or hot glue it in place. Then mix the epoxy resin with the white resin dye and pour it into the mold. Let this rest until fully set. You may need to fill in gaps with more resin (I just put it back into the mold with resin over those areas).
5. Finishing touches
To make the knife even better match the game, you can add paint to the handle. I don't have much painting skills, so I went with the save approach of just painting the grip black. You can also try to etch (as I attempted) or paint the Altera logo into the blade.
Finally, you can sharpen the blade using a sharpening stone - or you can leave it dull if you don't plan on using it.
And that's it! While it isn't made out of titanium and silicone rubber, it definitely feels like it is a real life replica of the Subnautica knife.